
Compression consists of specialized applications that make the ordinary sound soothing. Music will feel natural and intelligible. Any distortion is removed, resulting in a pleasing experience while listening to the music. Not the points while buying an Audio compressor for home theatre.
Step by step guide to understanding how the Audio compressor for home theater works
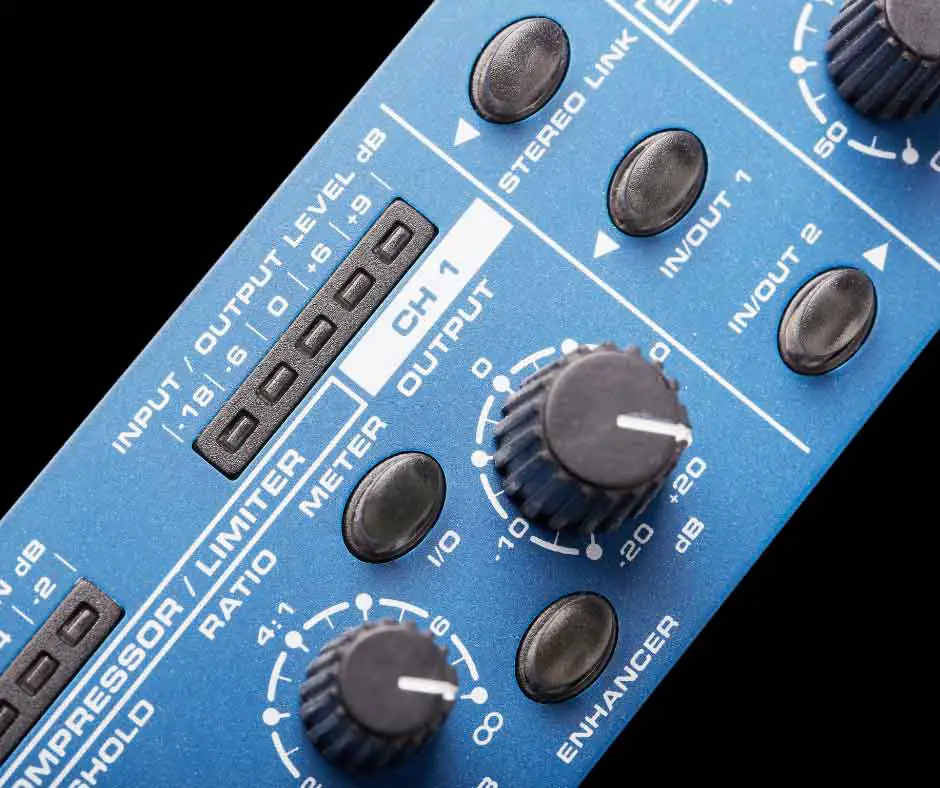
Every audio compressor comes with a hardware unit and plug-in system. You will find several common traits in the device and control system.
Understanding how each of the control responds to specific sounds will enable you to manage the frequencies of compressors comfortably. Knowing these factors will help you manage your Audio compressor to achieve the desired result.
Threshold
The threshold sets the highest bar where the voice needs to be compressed. When you put the threshold at 10 dB, the system will monitor the signal peaks and start the compress procedure when it hits the point.
The system will not get activated below the set threshold. It makes sure that the device playing music produces a good experience for the listeners. The rest of the time, the compression will not be active, and no action will be taken care of.
Knee
Audio compression comes with the knee setting that is useful for changing the transitions between non-compress audio to compressed audio without affecting the sound quality. The transitions flow smoothly without getting noticed.
Two options allow you to change the music frequency depending on your current requirement.
The hard knees quickly swift the music, whereas the soft knee progress smoothly in a perfect curve, giving you gradual compression. The hard knee will be noticeable in the sound and can feel annoying.
Attack time
The time set in the threshold is known as the attack time. When the sound reaches the decision point, the system gets into a process to compress the music.
Generally, the quick attack happens between 20 and 800 us (Microseconds). However, the setting will differ depending on the system’s type and the unit’s brand.
In contrast, the slow time range is between 10 to 100 milliseconds. You will notice the fast attack time sometimes creates distortion when you try to modify the low-frequency wavelength.
Release time
Release time is opposite the attack time. It occurs when the compressed sound again goes back to its normal state. The system moves the music to its original condition. Usually, the release time moves through a slower phase.
Therefore, it is considerably longer and takes more time. If we compare the duration with the attack time, the release time may take between 40 to 60 ms to 2 to 5 seconds.
It is advisable to set the release time as short as possible. The distortion in the sound will affect the music. If you try to release it quickly, the music will affect the sound release. You will hear the breathing effect on some of the instruments played in the music.
DIY audio compressor for home theater
People who want to build their audio compressor for a home theater system can follow this great tutorial. Watch the video and make your Audio compressor system.
The system will allow you to take control of your music system and produce a pleasing experience. The guide will help you design and optimize the method according to your need. Use it at home and enjoy the soothing music.
Audio Compression tips and Techniques
Knowing how the audio compression works will allow you to operate the system the way you desire. It will help you to feel more comfortable while using the system. These suggestions will help you run the system to produce better sound quality.
These rules are not written anywhere or authorized by anyone, but following some process learned from the experience will make a big difference in handling the audio compression system.
- It is advisable to use the gentle compression method instead of placing the pointer immediately to the desired setting. It slowly moves the music through compress format without changing the frequency. Follow this practice whenever you are recording, mixing, or mastering the process. Do not put excessive compression on the system. It will affect the entire process, and it could cause damage to the system.
- Instrument music will get distorted. Compression should be added carefully, and it will negatively impact the timbre. The negative compression process is mostly the cause of the change in the music frequency. You can see the difference when you conduct fast compression on instruments.
- You are constantly the compression from the intermediate state to medium ratio. The range should be between 2:1 and 5:1. Next, setting the attack time to the medium-fast will support the process.
- Turn the release time to the medium setting. After that, raise the threshold until you reach tot the 5 dB. Use the gradual rasing process to avoid sudden change in the frequency. Output getting setting will allow you to compensate for the attenuation. Now, the speed-up time will take place. Gradually increase it until you notice the change in the music and slightly turn back.
- Do not squish the music with a high precision rate. Gradually increase the compression and ensure the audio is not causing distortion or break in the frequency. The ear should feel comfortable listening to the music. Such as clean guitar track would make your mind relax. Drum music will stand out after the background noise is cut down.
- The process of compressing the entire mix could be a little tricky. You should be very cautious because you may lose the essence of the music in the process if you do not take precautions.
There will be a particular instrument that will produce constant loud music in any music. If you take down the specific instrument frequency, the real music will be affected. It will affect the baseline, and the music will not be helpful.
The problem can be solved with the multibrand compression system. The compressor is known for splitting the signals. The system will provide you with separate operating signals that you can manage independently.
Modern audio compression comes with many advanced features. Choose the remote control device, so you can operate the condensation from a distance and not need to stay close to the system all the time.